Gallipoli Expedition Mode Explained
Momentum, tickets, and sector HQs — the win conditions that decide every 25v25 fight.
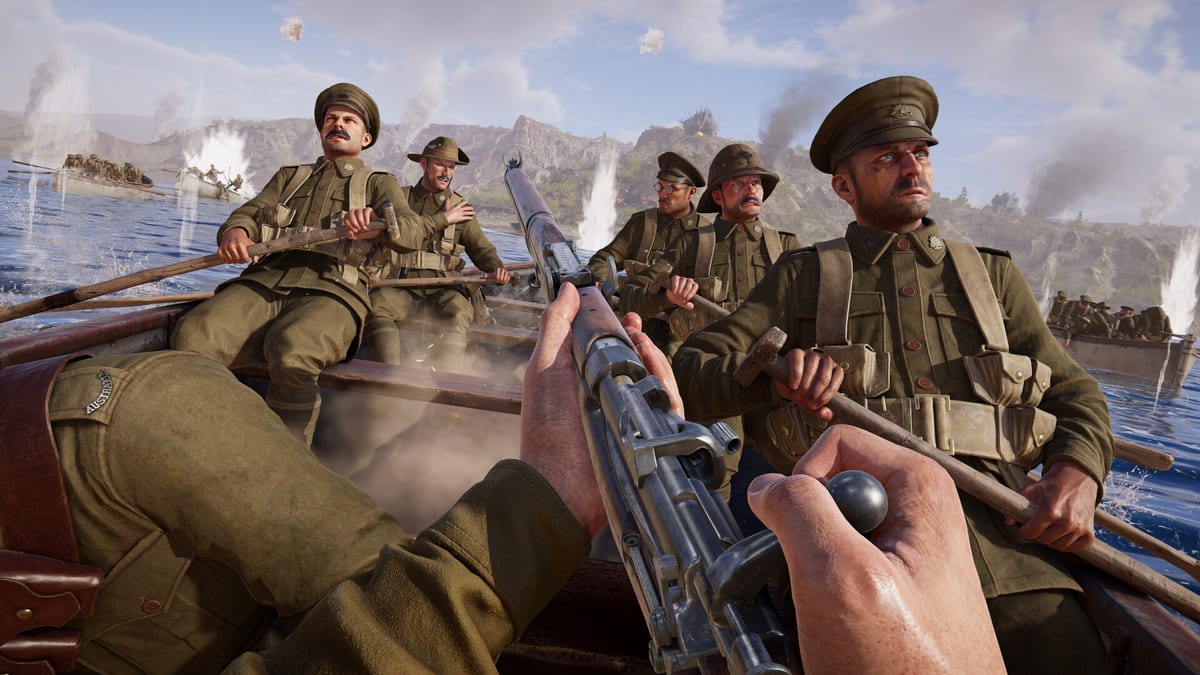
Expedition is Gallipoli’s signature 25v25 mode and the reason the Ottoman Front feels different from Verdun’s trench lines or Isonzo’s alpine climbs. Attackers must push through sectors with momentum; defenders must drain attacker tickets and freeze every advance. If you only memorize weapon names and skip this page, you will win gunfights and still lose the map. Pair this guide with Getting Started for class basics and Squad Call-Ins for the support that actually breaks a stuck sector.
The big picture
Think of Expedition as a momentum-driven operations mode: familiar if you have played Breakthrough-style modes elsewhere, but tuned for BlackMill’s one-shot-one-kill pace. A typical defense holds multiple sectors. Attackers cannot freely waltz into the next sector until the current one is resolved. Inside a sector you will see objectives that matter unequally.
Attacker win path: take the required sectors by securing the HQ objective in each, keep tickets alive, and convert secondary objectives when they buy forward spawns or deny defender tools.
Defender win path: spend the clock and the ticket pool. Force attackers into open approaches, punish plants, and reset every secure attempt until tickets hit zero.
Bots may fill empty player slots. Use that for practice, but do not assume bot defenders hold angles like humans — and do not assume bot attackers will plant on time.
HQ vs secondary objectives
Hands-on coverage is consistent on one critical rule: attackers usually need the HQ, not every point in the sector, to advance. Secondary objectives are still worth fighting for because they often grant:
- Forward spawn pressure closer to the next fight
- Denial of defender assets such as machine-gun nests or slingshot artillery positions
- Safer plant routes for the HQ secure step
If your squad only ever stacks HQ while a secondary Maxim farm deletes every approach, you are playing the mode wrong. Flip it: clear or seize the secondary that creates the lane, then finish HQ with Bombers and Officers covering the plant.
Securing is not standing still
Older modes taught players to stand in a circle until a bar fills. Gallipoli often adds a secure step — planting explosives or demolishing a structure. That takes time and creates a loud, readable moment for defenders. Previews also describe a short interactive mini-game that can speed the process if you hit the prompts cleanly.
Practical attacker habits:
- Smoke or suppress the lane before the planter commits.
- Assign a Bomber or demolition-capable player as the dedicated planter; do not elect the only Stretcher Bearer.
- Hold a short outer perimeter — one Sniper or Light Machine Gunner watching the most common counter-attack path.
- Ping the plant. Crossplay lobbies live or die on pings more than typed chat. See Controls if you have not bound ping comfortably.
Practical defender habits:
- Pre-aim plant spots, not random dunes.
- Save a bayonet charge or grenade for the player who starts the secure interaction.
- If the plant is already cooking, prioritize the planter over the distant sniper duel.
- After a deny, rotate — do not celebrate in the open while the next wave climbs the same ridge.
Tickets and attacker recovery
Defenders drain attacker respawn tickets by winning the attrition war. Attackers are not purely on a one-way clock, though. Published previews note recovery paths such as:
- Reaching elimination milestones (commonly cited: fifty defender kills returning tickets)
- Destroying defender spawn infrastructure when the mode allows that pressure
That changes how both sides should think. Attackers who are “losing” on tickets can still stabilize with disciplined trades and spawn denial. Defenders who farm easy kills on the beach might accidentally refund the assault. Play the economy: a revive that keeps a Heavy Machine Gunner on a nest can be worth more than a flashy knife clip.
Downed players matter here. Any class can revive; Stretcher Bearers do it better. Attackers should spend tickets on purposeful deaths — not ego peeks that donate both a body and a free ticket swing. If you are stranded with no medic path, give up and respawn with the next organized push instead of bleeding alone. New players should skim that flow in Getting Started.
Momentum for attackers
Momentum is the emotional and mechanical truth of Expedition. When a sector breaks, immediately:
- Reassign squads to the new approach (do not loot the old trench for thirty seconds).
- Ask Officers for the call-in that matches the next terrain — beach open ground wants different support than Kut Al Amara streets. Details in Squad Call-Ins.
- Move Ammo Bearers up early so the first wave is not dry after two minutes.
- Use crouch/prone sprint to relocate without silhouetting on ridgelines.
On beach maps, momentum dies when everyone stands up at once. Sequence the wave: suppression first, movers second, planters third. Beach Landings expands that timing.
Discipline for defenders
Good defense is layered, not a single hero nest:
- Outer denial — Snipers and rifles punish greedy sprints.
- Mid suppressors — Heavy Machine Gunners deployed on lanes that matter, with Ammo Bearer support.
- Inner reaction — Bombers and Officers ready when a plant starts.
- Medic glue — Stretcher Bearers tucked just off the hot angle so they are not the first casualty.
If attackers take a secondary that grants a forward spawn, treat the next minute like a new round. Reset positions. Do not hold the old perfect angle that no longer sees the spawn.
Squad composition that wins Expedition
A balanced 25-player team still fails if every squad is four Snipers and an Officer who never calls support. Prefer squads that match the sector:
- Open beach: Officer + HMG + Ammo + Stretcher + flexible Light Machine Gunner / Bomber
- Urban Mesopotamia: more Bombers and close fighters, still keep a medic
- Long desert approaches: Sniper value rises, but someone must still plant
Cross-platform parties should read Crossplay so your five-stack actually lands in the same Expedition lobby.
Common mistakes
- Treating every secondary as mandatory while ignoring a free HQ lane — or the reverse, never touching secondaries that enable the HQ.
- Planting alone because “the bar is almost done.”
- Wasting Officer call-ins on empty sand instead of the plant window.
- Refusing revives because you are tilted about a one-shot death — tickets are the real scoreboard.
- Chasing KD on defense until you refund attacker tickets through bad trades.
After you learn the rules
Expedition knowledge is the skeleton; map knowledge is the muscle. Drill Anzac Cove and Cape Helles in Beach Landings, keep your binds sharp in Controls, and make sure your Officer kit matches squad type in Squad Call-Ins. Gallipoli rewards the team that understands why a sector falls — not just who won the last duel on the sand.
Frequently Asked Questions
Quick answers to the most common questions.
Do attackers need every objective in a sector?
Usually no — the HQ is the progress key. Secondary objectives are still valuable for spawns and denying defender assets.
How do defenders win Expedition?
By draining attacker respawn tickets and stopping sector captures before the assault completes the map.
Can attackers regain tickets?
Yes. Previews describe recovery through high elimination milestones and by destroying certain defender spawns — play the economy, not only the kill feed.
Why do plants take so long?
Securing often requires explosives or demolition plus time under fire. Coordinate suppression and assign a dedicated planter.
Is Expedition the only mode?
It is the signature focus of marketing and hands-on coverage. Learn it first; additional playlists can be covered as BlackMill confirms them post-launch.