Gallipoli Best Loadouts (Pre-Launch Packages)
Practical kit plans for Expedition on Anzac, Cape Helles, and Kut.
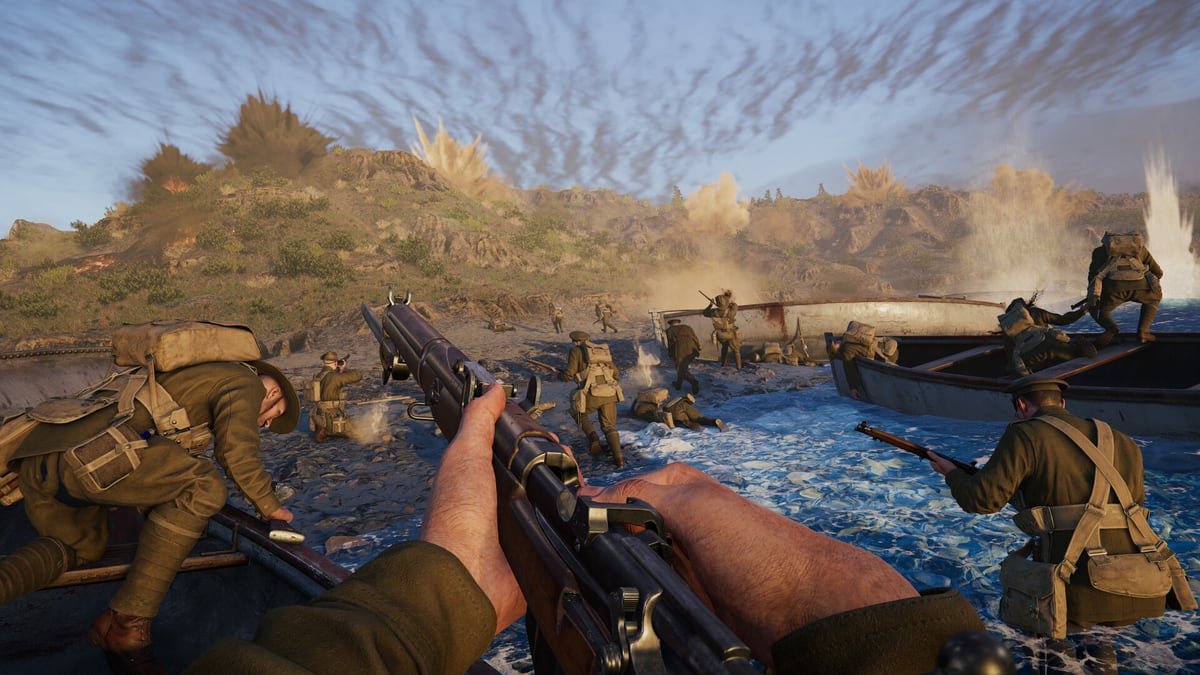
These Best Loadouts are practical packages for Gallipoli’s ten-class, 25v25 Expedition format. They are pre-launch recommendations shaped by WW1 Game Series habits and BlackMill’s announced fantasy — authentic rifles, machine guns, and equipment across Ottoman Front theatres. They are not official unlock lists. When named kit cards finalize after August 20, 2026, swap in the closest gun that still serves the same job.
Cross-read the Weapon Tier List for evaluation logic and the Class Tier List for role priority. Execution guides live in the Classes Hub.
Loadout rules of thumb
- One job per kit. If you are the HMG, your package should win a lane, not chase Kut knife fights.
- Carry the Ammo Bearer assumption. Belt and explosive kits assume someone can refill you — or you play stingier.
- Map first, vanity second. Anzac packages differ from Kut packages even inside the same class.
- Secure tools beat highlight tools whenever Headquarters is the active problem in Expedition Mode.
Officer packages
Anzac tempo kit — mid-range rifle with clean irons, utility that supports a staged crossing, minimal optic tunnel vision. Your job is calls and survival near the first cover line. Details: Officer Guide.
Kut street kit — shorter rifle or carbine posture, faster ready times, grenade or smoke utility if available for micro-pushes. Stay attached to LMGs and Bombers instead of rooftop tourism.
Cape Helles breach captain — balanced rifle plus utility that helps a doorway stack reset after the first failed entry. Call Support Objective rotates when Momentum dips.
Stretcher Bearer packages
Beach recovery kit — light, mobile primary you can shoulder after a drag; prioritize routes over dueling optics. Guide: Stretcher Bearer.
Urban medic kit — compact weapon for room checks before a revive; avoid long scopes that slow your head-on-a-swivel checks in Kut.
Shared rule: if a weapon tempts you into mid-map hunt mode, it is the wrong Bearer loadout.
Ammo Bearer packages
Gun-nest supplier — sidearm or rifle that lets you sit near HMG/LMG positions without feeding Snipers. Your “damage” is uptime for Firepower Roles.
Breach supplier — stay one cover piece behind Bombers on Cape Helles; carry the mindset that the second explosive wave matters more than your personal frags.
HMG packages
Anzac denial nest — heaviest stable belt option you can set early; pick angles that see sand approaches without skyline exposure.
Flexible defense nest — slightly more reposition-friendly heavy setup for sectors where Headquarters flips location and you must drag the gun forward after a secure elsewhere.
Sniper packages
Officer hunter — first-shot confident rifle, conservative optic choice, plan for immediate displace. Farm Officers, HMGs, and repeating Stretcher paths — not random beach scavengers only.
Overwatch lite — if your squad lacks long range entirely, take a sniper package that still watches Headquarters, then rotate when the secure completes.
LMG packages
Kut walker — controllable automatic fire for rooms and alleys; pair with Bomber entries.
Mid-map escort — for mixed terrain where HMG is too static; stay glued to the Officer blob from Classes Overview.
Bomber packages
Headquarters finisher — explosives plus a close primary that can win the room after the bang. Do not leave the secure early.
Fort approach kit — Cape Helles focused; assume chokepoint stacking and Ammo Bearer support. If you are solo and dry, fall back to a rifle-heavy posture until refill arrives.
Map quick picks
| Map | Squad package sketch |
|---|---|
| Anzac | Officer + HMG + Stretcher Bearer + Sniper lane police |
| Cape Helles | Officer + Bomber + Ammo Bearer + LMG |
| Kut | Officer + LMG + Bomber + Stretcher Bearer |
Terrain details: Maps Overview.
How these packages relate to tiers
If the Class Tier List projects Officer and Stretcher Bearer highly, that does not mean every Officer vanity optic is good. Loadouts exist to keep high-value classes doing high-value work. Likewise, a B-tier projected Sniper with a disciplined Headquarters overwatch package can outperform an S-tier class played as a deathmatch tourist.
Building your personal shortlist
- Route your playstyle through the Class Picker.
- Read the matching class guide under Classes Hub.
- Choose the map package above that matches today’s theatre.
- Validate gun job logic on the Weapon Tier List.
- Make fights readable with the Settings Optimizer.
- Return to Getting Started if you are still learning spawn and sector flow.
After launch
Replace placeholder job language with named kit titles as soon as unlock trees stabilize. Keep the structure: map, class job, ammo assumption, Expedition objective. The Tier List Hub will remain the parent index when live-meta loadouts arrive.
Play the package that helps your squad secure Headquarters. Fashion can wait until Momentum is safe.
Frequently Asked Questions
Quick answers to the most common questions.
Are these the official best loadouts?
No. They are pre-launch packages built around class jobs and maps. Swap in final named weapons after launch while keeping the same role logic.
Which loadout should beginners use?
Start with Stretcher Bearer beach recovery or LMG Kut walker packages, or answer the Class Picker and follow its class guide.
Do I need different kits per map?
Yes. Anzac rewards longer denial tools; Cape Helles and Kut reward breach and street packages even inside the same class.
Where do I read class execution details?
Use Officer Guide, Stretcher Bearer, Firepower Roles, and Classes Overview. This page only packages the kits.