Gallipoli Squad Types and Call-Ins
Pick the right squad identity, spend Officer support on the plant window, and ping like it matters.
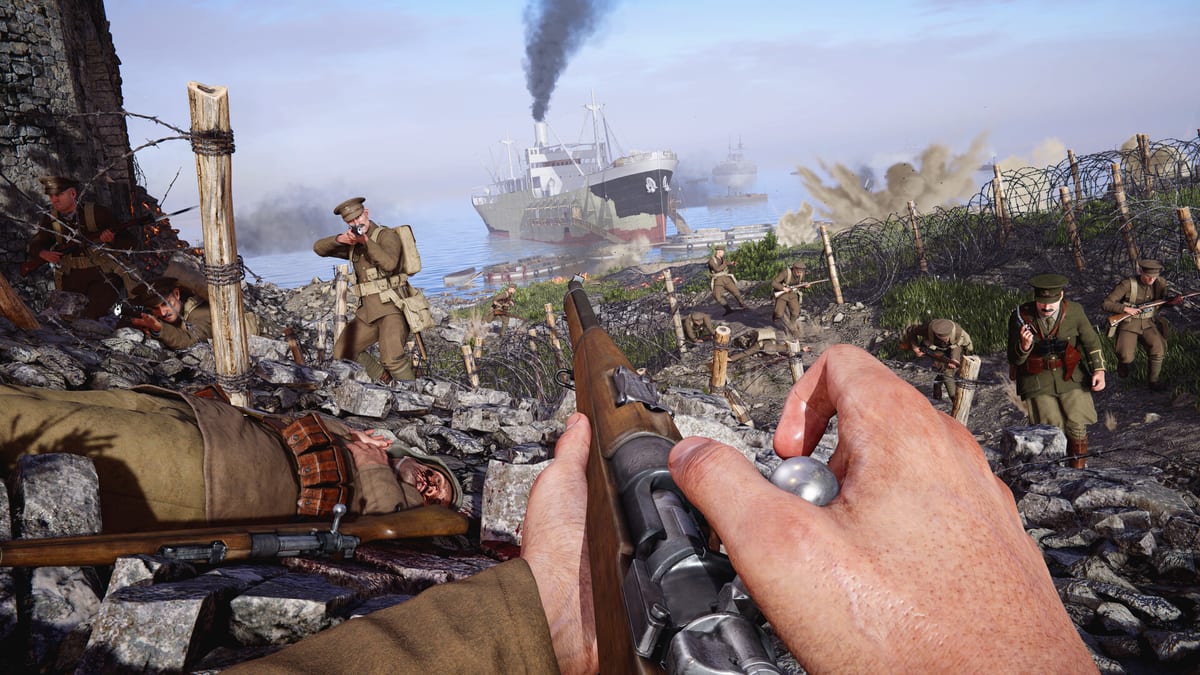
Gallipoli sharpens the WW1 Game Series squad fantasy. You are not five random loadouts sharing a spawn tip — squad type changes which class seats exist and which Officer call-ins you can bring onto the Ottoman Front. Combined with the new ping system, Stretcher Bearer / Ammo Bearer support roles, and Expedition’s plant-driven objectives, squads are the real meta. This page teaches how to choose a squad, spend call-ins, and coordinate without relying on perfect voice chat. For win conditions, keep Expedition Mode open; for beach timing, use Beach Landings.
What “squad type” actually changes
Developer messaging and previews agree on the structure:
- Joining a squad type steers available class slots (more seats for the roles that match that identity).
- The Officer gains off-map support tied to that type — for example artillery-focused squads versus airstrike-focused squads.
- Specialized names and bonuses push the five-stack toward a job: bombardment, air support, assault pressure, and similar identities shown in hands-on coverage.
You should pick a squad the way you pick a class: on purpose. If your team already has two artillery-leaning Officers and zero medic-heavy squads, fill the gap instead of cloning the same call-in.
Officer job description (read this twice)
An Officer who only hunts sniper kills is a wasted slot. Your jobs, in order:
- Read the sector — HQ plant soon, or still fighting for a secondary spawn tool?
- Ping the plan — nest, plant spot, revive scrape, flanking ditch.
- Shape class composition — invite a Stretcher Bearer and Ammo Bearer before a fourth Sniper.
- Spend the call-in on a timer — the ten seconds when attackers leave cover or defenders must expose to stop a plant.
- Reset after the sector moves — old marks lie; re-ping the new approach.
If you are new to leadership roles, play Officer after two matches as Ammo Bearer. You will learn where fights stall. Getting Started covers the wider class list.
Call-in timing that wins fights
Call-ins are tempo tools, not highlight toys.
Great attacker moments to call support
- Immediately before a coordinated climb off Anzac sand
- When a planter is about to start the secure interaction on HQ
- When a defender HMG nest has frozen two waves and your Light Machine Gunners cannot peek
- When a secondary objective’s denial will open a forward spawn for the whole team
Great defender moments
- When attackers stage in an obvious boat-exit or trench line
- When a plant is mid-secure and you need the planter flinched or deleted
- When a ridge is about to be overrun and you need a pause to redeploy HMGs
Bad spends
- Empty beach water behind a failed wave
- Random harassment far from any objective
- Panic dumps the second you spawn without a squad ping
Artillery and airstrike identities shine in different geometry. Open desert and cove ridges love wide pressure; tighter Cape Helles / fort approaches may want shorter, meaner denial on the plant room. Kut Al Amara streets punish sloppy friendly fire — ping the mark so your own Bombers are not inside the danger zone.
Pings are part of the call-in kit
Full crossplay means your squad might be Steam + PS5 + Xbox with uneven mics. The ping system exists so you can mark locations and steer teammates without a Discord lecture. Habits that work:
- One clear ping for the priority target, not five decorative marks.
- Re-ping when the priority changes (nest down, plant up).
- Answer pings: if your Officer marks a scrape, medics look there first.
Bind ping somewhere trustworthy — Controls discusses PC and console conventions from the series and Gallipoli previews.
Building a squad for Expedition
Use these templates as starting points, then adapt to the map:
Beach assault squad
- Officer (call-ins for the climb)
- Heavy Machine Gunner (temporary mid-beach suppression once cover exists)
- Ammo Bearer
- Stretcher Bearer
- Bomber or Light Machine Gunner
Defense hold squad
- Officer (denial on plant windows)
- Heavy Machine Gunner
- Sniper
- Ammo Bearer
- Stretcher Bearer
Urban breakthrough squad (Kut Al Amara)
- Officer
- Bomber
- Light Machine Gunner
- Stretcher Bearer
- Flexible rifle/second Bomber seat if the squad type allows
Notice what is constant: medic + ammo. Fancy call-ins do not replace bullets or revives. Any class can revive, but Stretcher Bearers keep the Officer and HMG in the fight when one-shot lethality would otherwise delete your tempo.
Class variants and loadout intent
Previews note that classes can offer variants — a more general kit versus an extreme specialization (for example a Bomber leaning harder into explosives). Pick extremes when your squad already covers the missing basics. An all-bombs fantasy loadout is useless if nobody can revive the planter.
Heavy Machine Gunners still need to deploy for full automatic authority. That is a squad problem: protect the gun while it is placed, feed it with Ammo Bearers, and ping when it must relocate. A lonely Maxim is a grenade gift.
Communicating without toxicity
Unofficial fan spaces thrive when Officers coach instead of scream. Short calls beat essays:
- “Ping nest — smoke — plant”
- “Medic on me, scrape left”
- “Save call-in for HQ”
- “Secondary first, then HQ”
If voice fails, pings plus those four ideas still win sectors. Mixed-input parties should also skim Crossplay so platform quirks are not mistaken for squad failure.
Practice drills
- Call-in only on plants for three attacker rounds — if you dump early, you fail the drill even with frags.
- Ping-only mute round — no voice; win a secondary with marks alone.
- Medic-first compose — refuse fourth sniper until Stretcher Bearer and Ammo Bearer seats are filled.
- Defense relocate drill — after losing a secondary spawn tool, force the whole squad to fall back on one Officer ping.
How this page links to the rest of the hub
Squad mastery sits between onboarding and map skill. New players should finish Getting Started, learn ticket math in Expedition Mode, then return here before they main Officer on Anzac Cove. Beach-specific timing lives in Beach Landings. Input setup lives in Controls.
BlackMill’s Ottoman Front is built for people who enjoy digital WW1 teamwork — the “LARPing with purpose” fantasy. Squad types and call-ins are how that fantasy becomes a win condition instead of a costume. Pick a job, mark the sand, spend support when it hurts, and keep your medic alive.
Frequently Asked Questions
Quick answers to the most common questions.
Do squad types only change cosmetics?
No. They influence class slot availability and the Officer’s off-map call-in options, steering how the squad should play.
When should I use an Officer call-in?
On timed windows: climbs off the beach, HQ plant starts, or freezing a nest that has stopped two waves — not on empty sand.
Why is pinging so important?
Full crossplay lobbies mix platforms and mics. Clear pings steer planters, medics, and gunners without long voice explanations.
What roles should every squad try to include?
A Stretcher Bearer and Ammo Bearer make most call-in plans actually stick. Add Bombers when secures require demolition.
Can non-Officers still help squad tactics?
Yes. Ping nests, protect deployed HMGs, revive on cover, and stop stealing the planter’s job during a secure.