Gallipoli Classes Overview
Understand every specialist role before you land on Anzac, Cape Helles, or Kut.
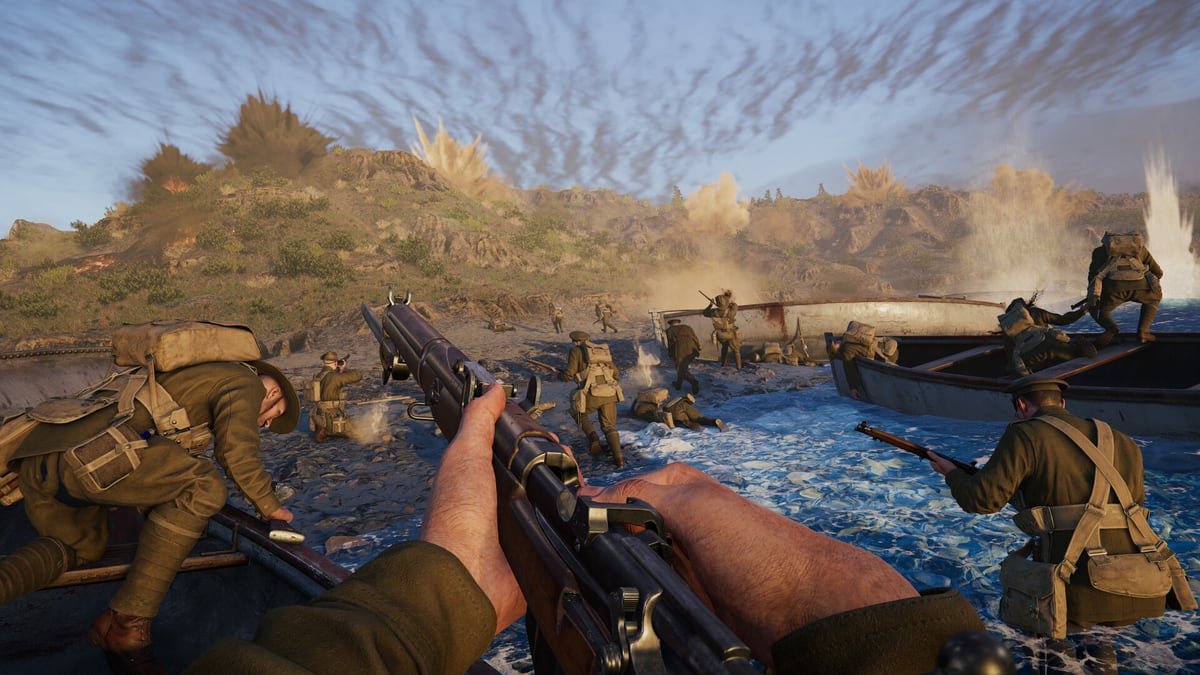
Gallipoli field ten historically inspired classes in a 25v25 Expedition match. Each class carries a distinct job in BlackMill Games’ hardcore WW1 gunplay: deliberate aiming, meaningful reloads, and suppression that can shut down a rush as hard as a bullet. This overview explains how the roster fits together so you can build a squad that can take Headquarters, contest Support Objectives, and protect Momentum through long attacks.
If you are brand new, finish Getting Started first, then come back here before you main a single kit.
The ten-class roster at a glance
Official materials highlight leadership and firepower staples — Officer, Heavy Machine Gunner, Sniper, and Stretcher Bearer — alongside other specialist kits such as Ammo Bearer, Bomber, and Light Machine Gunner. Expect two distinct kits per class at launch, which means most roles can lean offensive or supportive without leaving their identity behind.
Think in three layers:
- Command — Officers who mark timing, spawn utility, and squad discipline.
- Sustain — Stretcher Bearers and Ammo Bearers who turn a failed push into a second attempt.
- Firepower — HMG, LMG, Sniper, and Bomber roles that create the actual breakthrough.
Deep dives live on the sibling pages: Officer Guide, Stretcher Bearer, and Firepower Roles. Use the Classes Hub as your jump map when you need the full index.
Officer: tempo and cohesion
Officers are the attack clock. In Expedition, attackers manage a Momentum pool that drains as soldiers die. A good Officer does not chase frags; they keep the squad advancing toward the Headquarters while deciding when a Support Objective is worth the detour. If your team keeps dying in the open on Anzac Cove beaches, the fix is often better Officer positioning and smoke or rally timing — not another sniper.
Read the dedicated Officer Guide for callout habits, kit priorities, and how Officers pair with HMGs on long approaches.
Stretcher Bearer and Ammo Bearer: the quiet win condition
In one-shot-one-kill shooters, every revive and every ammo refill is a free Momentum save. Stretcher Bearers should memorize covered routes between spawn, Support Objective, and Headquarters. Ammo Bearers should live near the guns that burn belts and grenades fastest — HMG nests, LMG holds, and Bomber stacks preparing a trench clear.
The Stretcher Bearer page covers triage order, when to abandon a body, and how map geometry on Cape Helles or Kut changes your pathing. Pair sustain classes with Best Loadouts once you know which kit variants feel comfortable.
Firepower roles: HMG, Sniper, LMG, Bomber
Heavy Machine Gunners own open ground and beach crossings. Snipers punish Officers and gunners who linger on ridges. Light Machine Gunners move with the squad and hold urban corners in Kut. Bombers carry the close-range tools that turn a contested Headquarters into a secured one.
These four roles share a page because their jobs overlap: denial, pickoffs, mobile suppression, and breach. Start with Firepower Roles, then check the pre-launch Class Tier List and Weapon Tier List for series-veteran projections — clearly labeled as projections, not official rankings.
Matching classes to maps
- Anzac — early beach exposure rewards Officers, HMGs, and Stretcher Bearers who can recover failed landings. Snipers must respect cover; open sand is a death sentence if you stay scoped too long.
- Cape Helles — ship-to-shore and fort approaches favor Bombers and LMGs who can clear hardpoints, with Ammo Bearers keeping explosives and belts flowing.
- Kut — street grids and short sightlines elevate LMGs, Bombers, and Officers who can call micro-pushes room by room.
Cross-reference every pick with the Maps Overview and the momentum rules in Expedition Mode.
Squad composition checklist
A healthy 25v25 side rarely stacks five snipers. Aim for:
- At least one Officer per engaged squad
- One Stretcher Bearer covering the active Headquarters fight
- One Ammo Bearer near the primary gun nest
- A mix of HMG or LMG for lanes, plus Bombers for the final secure
- Snipers as lane police, not as the entire attack plan
If you want a playstyle questionnaire instead of a roster lecture, open the Class Picker. For graphics, audio, and network habits that help WW1 series shooters feel readable, use the Settings Optimizer.
Practice plan before August 20, 2026
- Main one sustain role and one firepower role.
- Learn Headquarters versus Support Objective jobs in Expedition Mode.
- Study map silhouettes on the Maps Overview.
- Compare projected value on the Class Tier List without treating it as gospel.
- Return to this overview whenever a patch reshuffles kits after launch.
Gallipoli’s authenticity comes from specialized soldiers, not universal loadouts. Master the overview, then specialize — that is how 25v25 Expedition attacks actually stick.
Frequently Asked Questions
Quick answers to the most common questions.
Does every class have multiple kits?
Launch messaging describes two distinct kits per class, letting most roles lean more offensive or more supportive while keeping the same core job.
What is the difference between HMG and LMG?
Heavy Machine Gunners typically anchor longer lanes and beach denial. Light Machine Gunners stay more mobile with the squad and shine in streets and trenches. See the Firepower Roles page for play patterns.
Should every squad run an Officer?
In coordinated play, yes — Officers are the tempo class for Expedition pushes. Solo queue groups should still try to keep at least one Officer on the active sector.
Where should I go after this overview?
Pick Officer Guide, Stretcher Bearer, or Firepower Roles next, then validate your choice with the Class Picker and Class Tier List pages.
Are class rankings final before launch?
No. Any tier content on this wiki is a pre-launch series-veteran projection and will be revised after the August 20, 2026 release.